DragGAN AI, a state-of-the-art artificial intelligence model, is now available for free use in Google Colab. This blog post will guide you through the installation and usage process of DragGAN AI in Google Colab.
Step-by-Step Installation Guide
Step 1: Accessing the Colab Notebook
- Visit the GitHub repository for DragGAN AI and find the link to the Google Colab notebook, or simply click here.
- Open the Colab link to access the interface.
Step 2: Setting Up the Environment
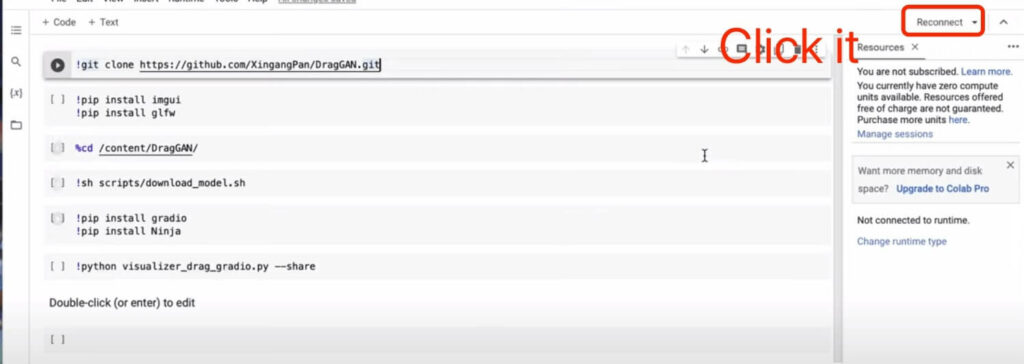
- Click on ‘Connect’ in the Colab interface.
- Go to ‘Runtime’ > ‘Change runtime type’.
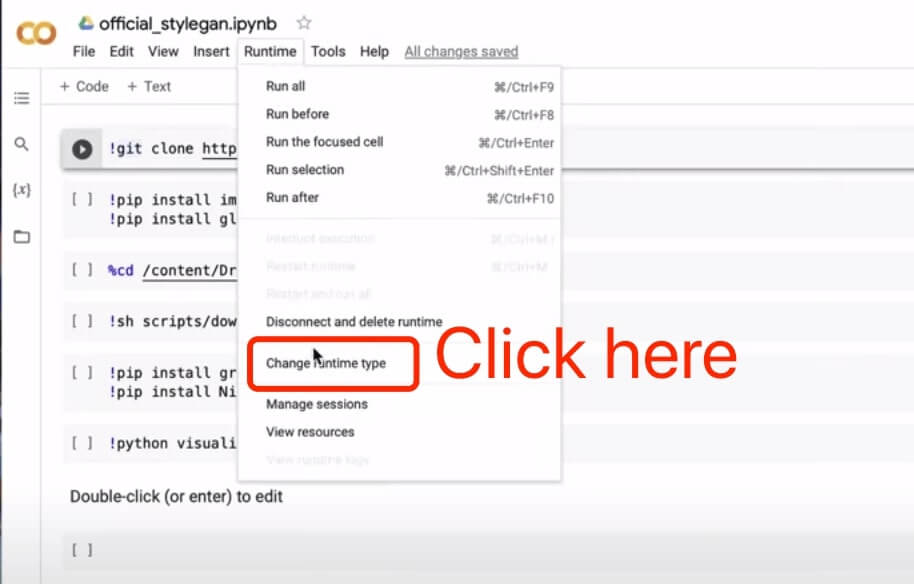
- Ensure you select ‘GPU’ as your hardware accelerator.
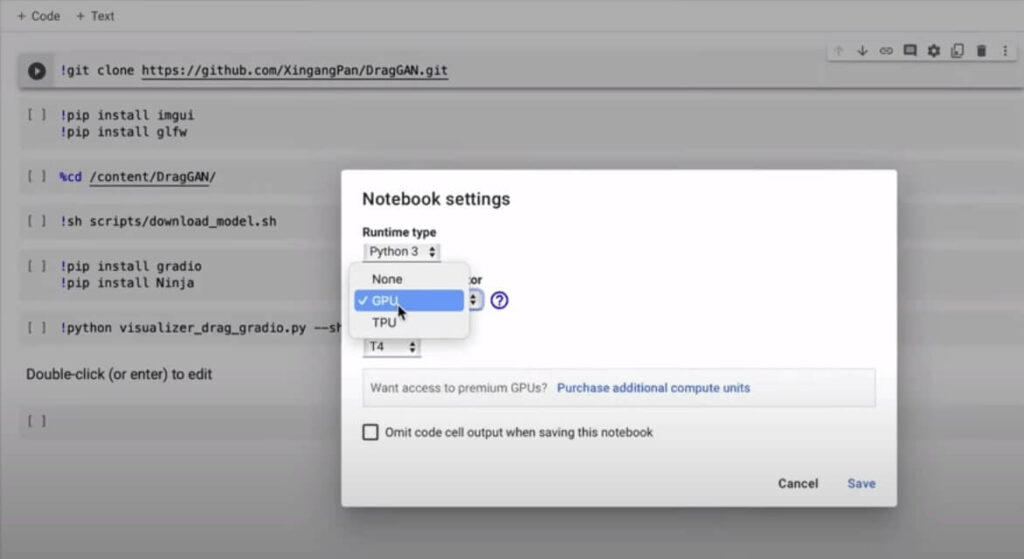
- Click ‘Save’ to apply the changes.
Step 3: Cloning the Repository
- Click on the play icon in the notebook to clone the DragGAN repository.
Step 4: Changing Directory
- After cloning, change your directory to the newly cloned DragGAN folder.
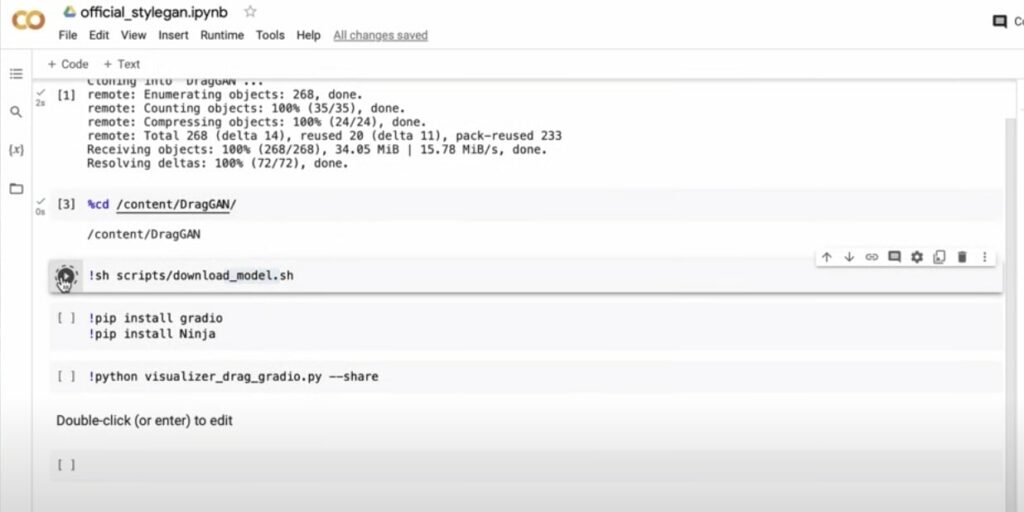
Step 5: Downloading Models
- Click to download the required models for DragGAN.
Step 6: Installing Dependencies
- Install Gradu and Ninja dependencies required for DragGAN.
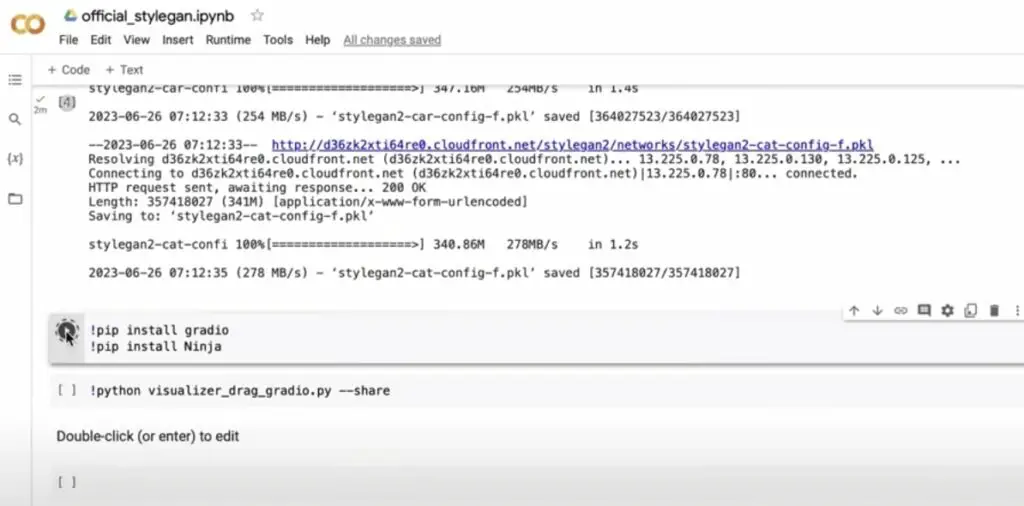
Step 7: Running the Visualizer
- Execute
python visualizer_draggan.pyto start the visualizer.
Resolving Common Issues
Missing Human Model Error
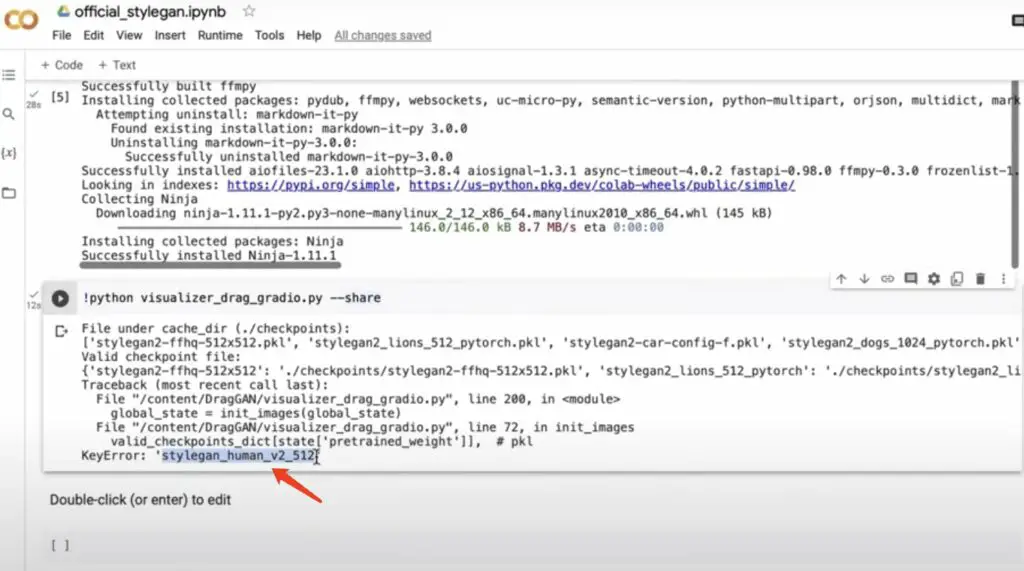
- If you encounter an error regarding a missing human model, locate and open
drag_gradu.py.
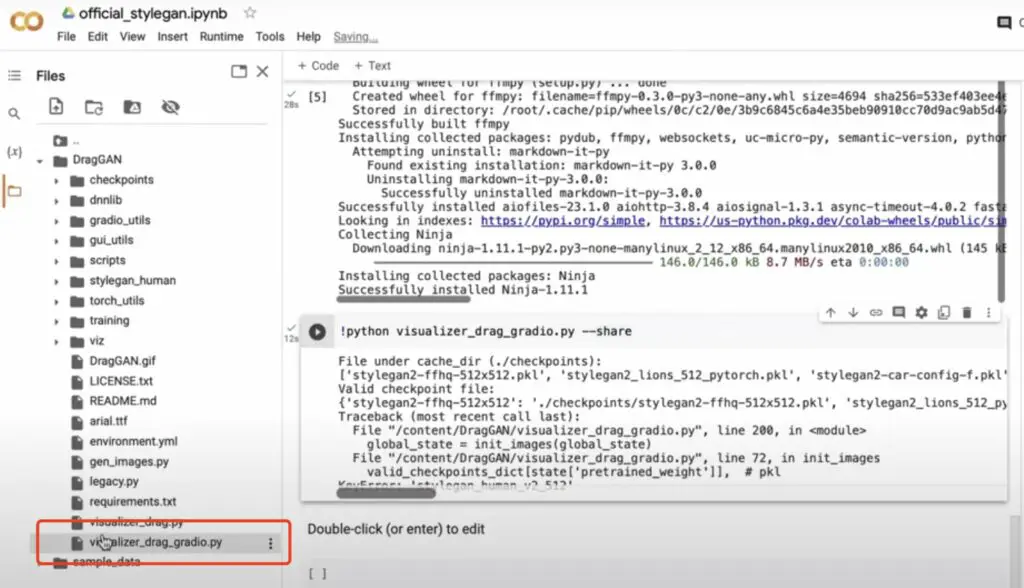
- On line 159, change the initialization pickle set to ‘stylegan’ with a filename from the ‘checkpoints’ folder.
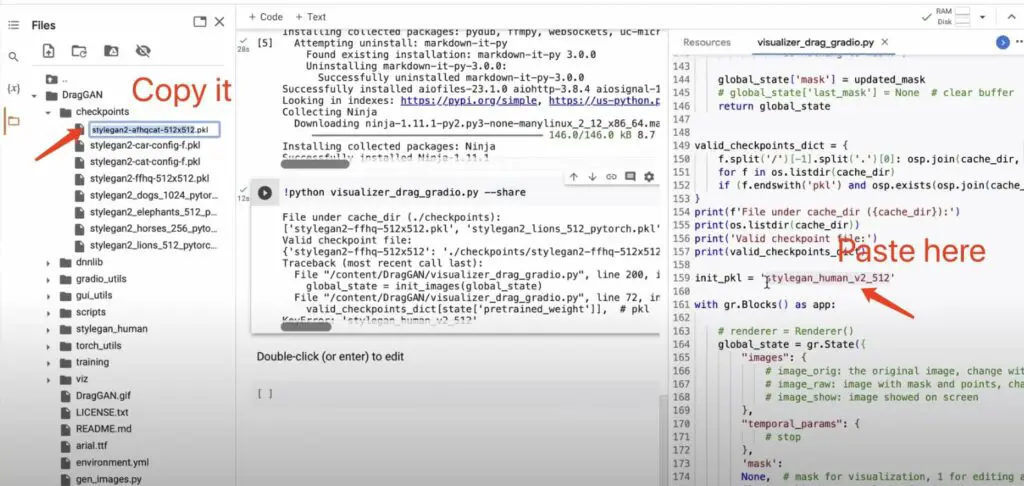
- Save the file and rerun the visualizer.
Using DragGAN for Image Generation
- Generating Images:
- Click on the provided public URL in the Colab notebook.
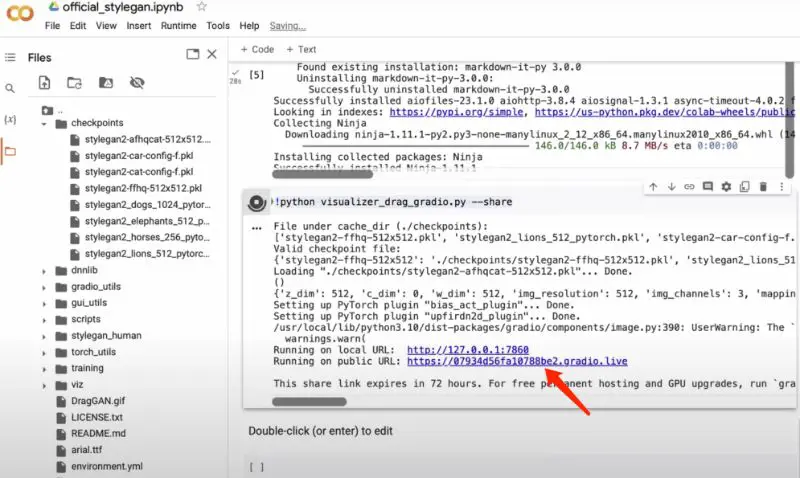
- This opens a page where you can generate images of cats, dogs, or human faces.
- Change the model by clicking and selecting the desired option (e.g., dog, human).
- Creating Variations:
- To modify an image, select a source point and a target point on the image.
- Add as many points as you wish for different modifications.
- Click ‘Start’ to begin the transformation process.
- Viewing Transformations:
- Observe the transformation occurring in real-time with frame-by-frame updates.
- Monitor the progress in the Colab notebook as well.
Finalizing and Releasing Resources
Stopping Transformations
- Click the ‘Stop’ button to halt any ongoing image transformation.
Releasing Resources
- To release resources, go to ‘Manage session’ in the Colab notebook.
- Click on ‘Terminate’ to free up the GPU for other tasks.
Conclusion
DragGAN AI offers an exciting opportunity to experiment with AI-driven image generation and transformation. By following the steps outlined above, you can easily install and use DragGAN in Google Colab. For any queries or further assistance, feel free to reach out in the comment section.
😊Eager to use DragGAN AI beyond Google Colab? Dive into our straightforward guide on installing DragGAN on Mac and Windows. Expand your AI art toolkit today!